VoIP QoS Policy Creation
A voice call tends to be classified as RTP protocol; unfortunately, there are many other applications that also use RTP. One of the ways to classify voice traffic managed by Cisco Call Manager, Cisco Call Manger Express, and Asterisk Call Manager, is to use a custom NBAR classification.
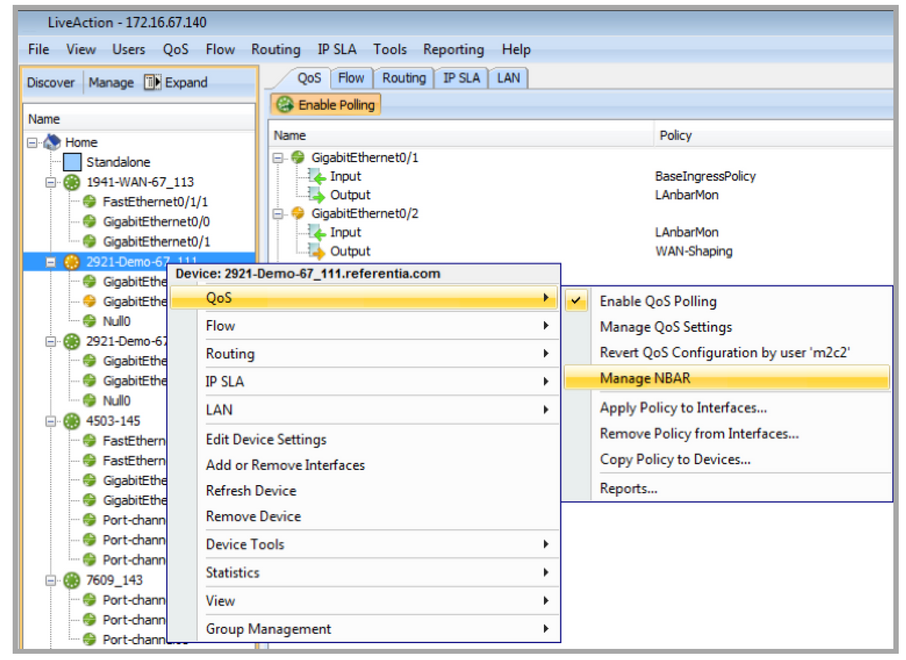
Select Manage NBAR from the QoS device right-click context menu.
1. Select Manage NBAR from the QoS device right-click context menu.
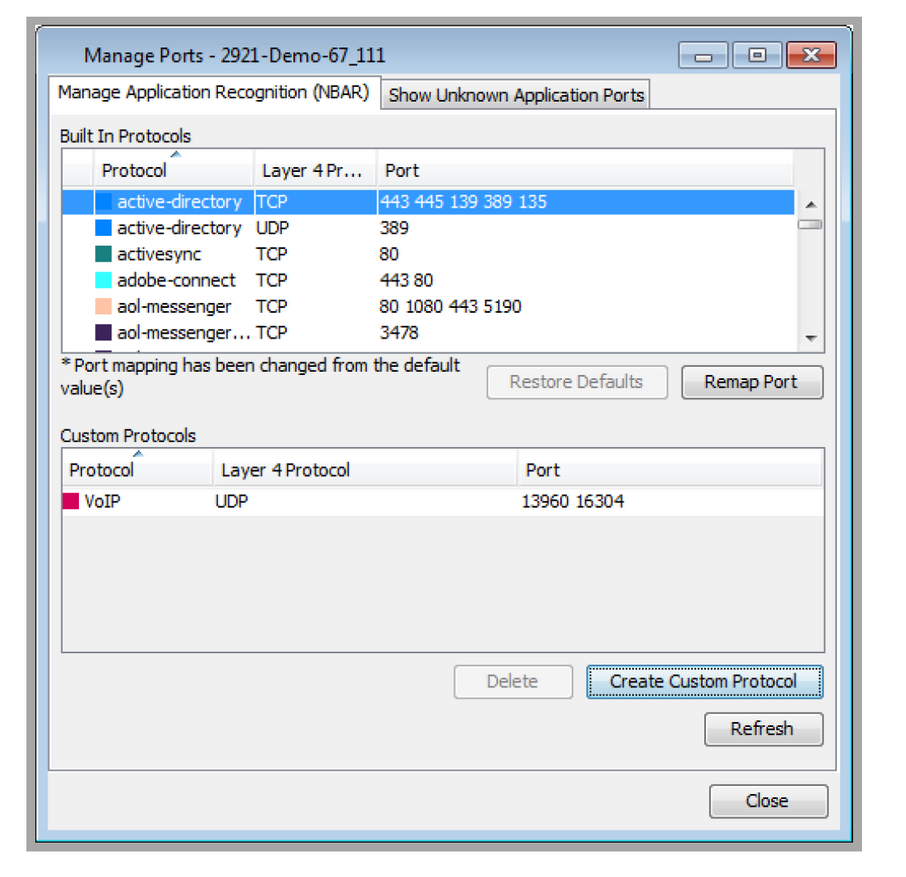
2. Manage Ports dialog will popup. On the Manage Application Recognition (NBAR) tab, click Create Custom Protocol.
3. This will bring up a dialog box in which the name, protocol type, and port information can be entered.
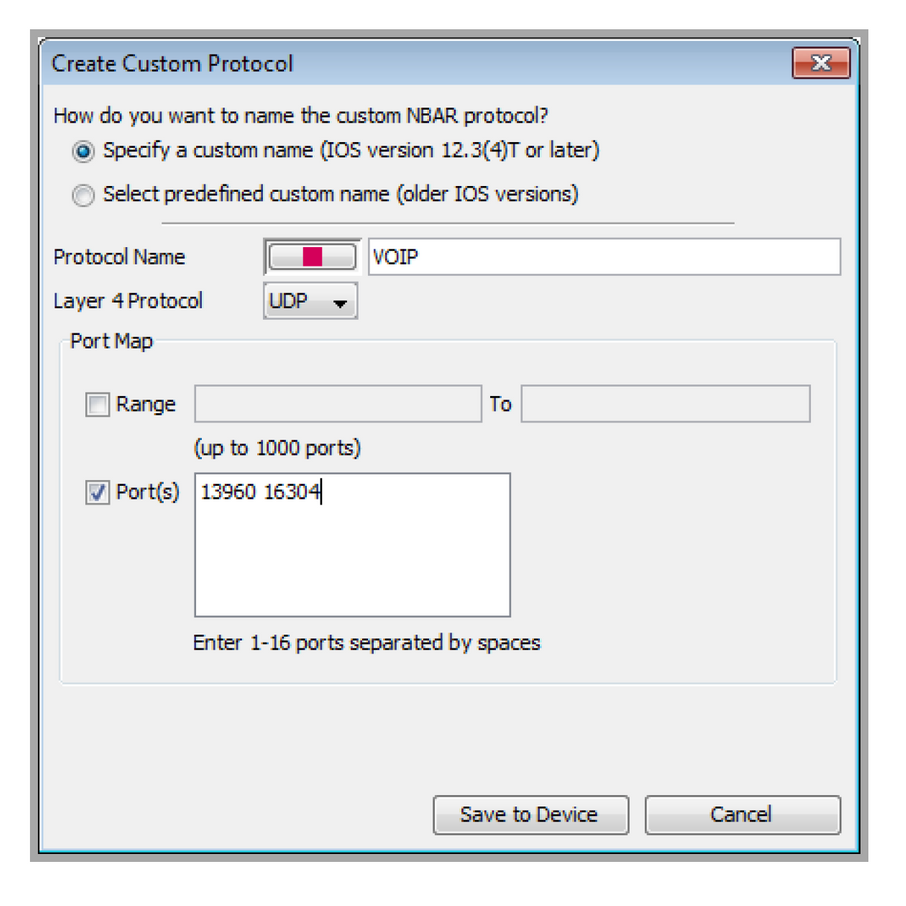
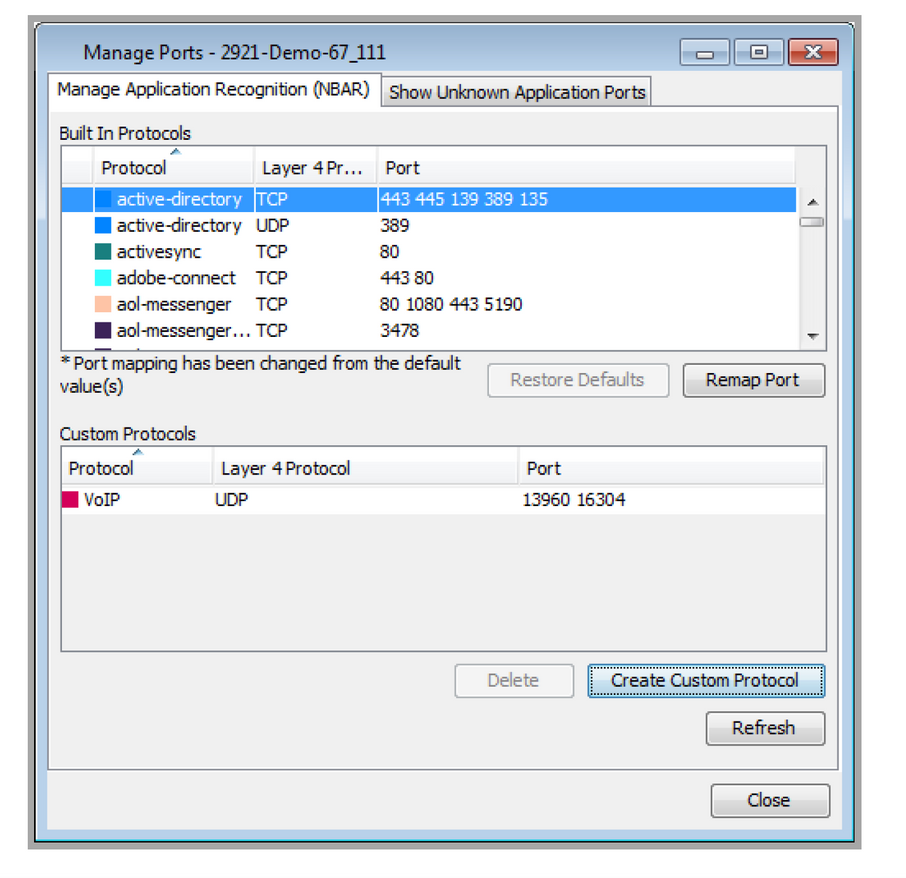
When completed, the command ip nbar custom voip udp 13960 16304 will be issued to the device. Once the custom protocol is created, it is available for use by the NBAR engine and will show up in the monitoring graphs.
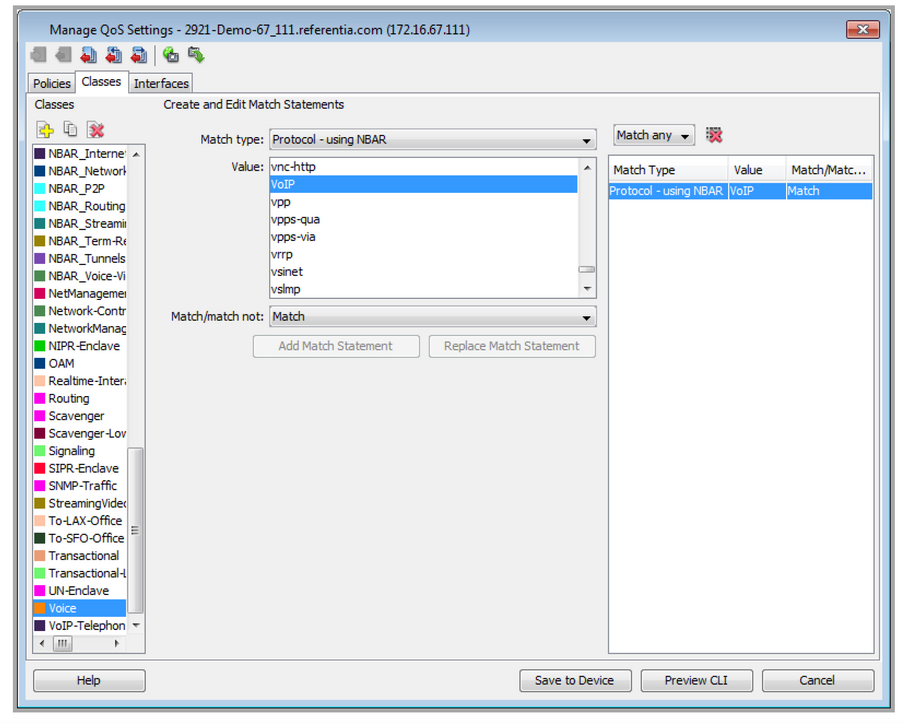
On the Manage QoS Settings screen, create a class for the VoIP traffic using the newly-created NBAR VoIP protocol.
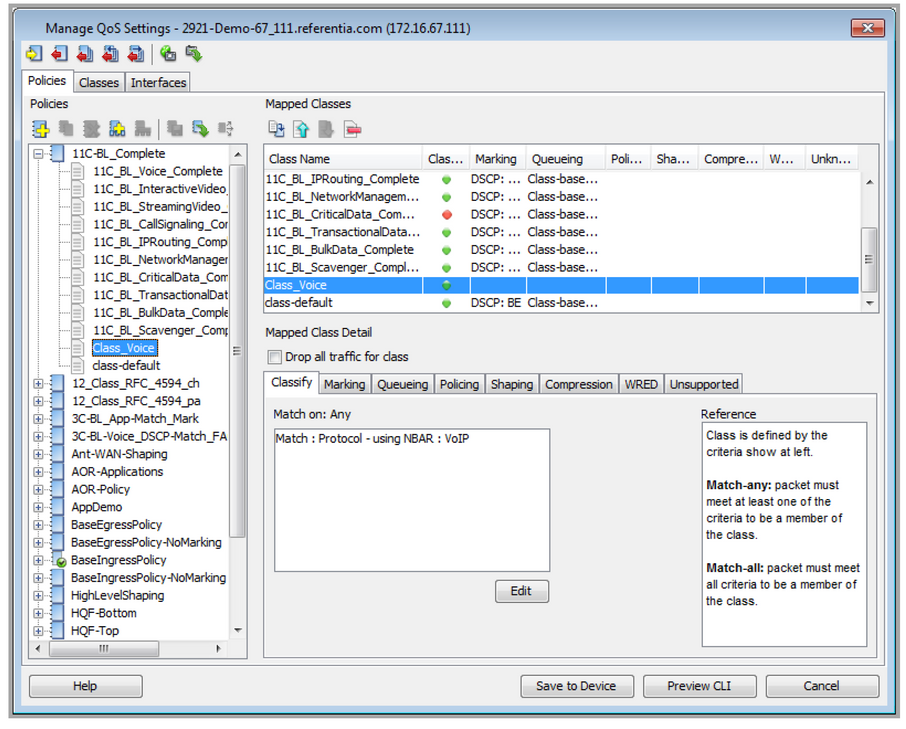
4. Create a policy based on the Cisco 11-class model using the template wizard. The class can use the VoIP class created in the previous step, and the various QoS settings can be configured.
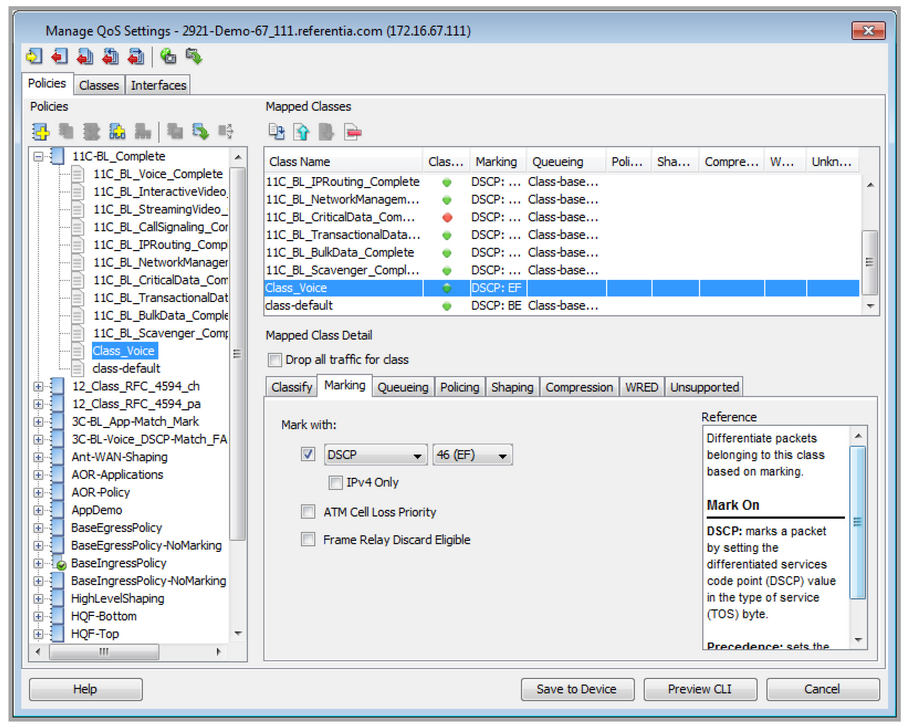
5. On the Marking tab for the Voice class, set the DSCP marking to 46 (EF) to differentiate the traffic.
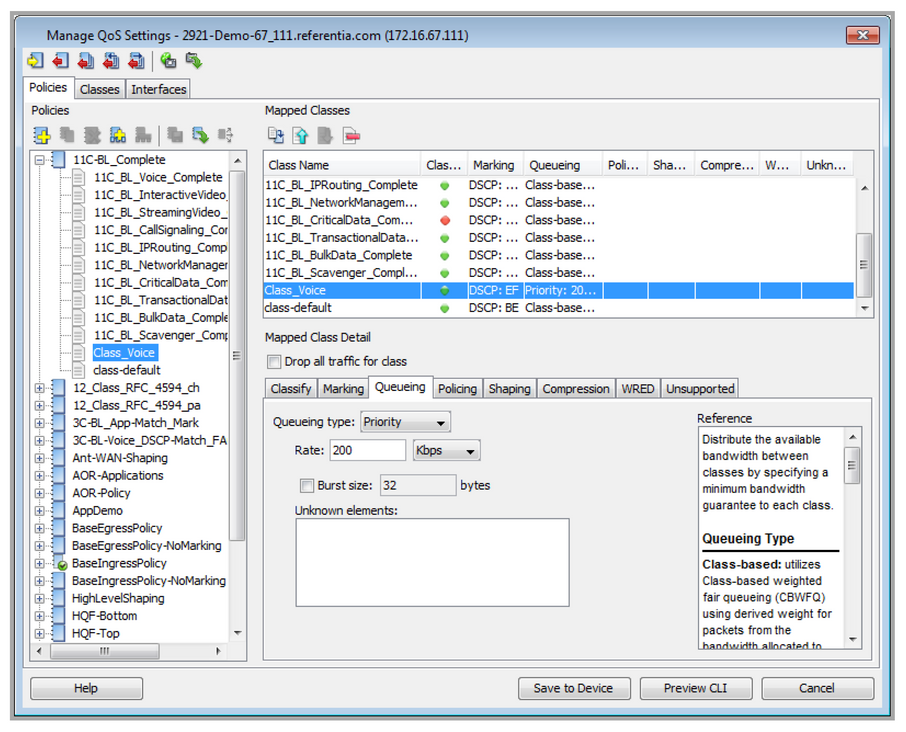
6. Set up the voice class as a priority queue and reserve bandwidth based on the requirements for voice traffic. Policing and header compression for RTP traffic can also be enabled if desired.
7. Create a separate class for the voice signaling protocols. The image below shows a voice signaling class with NBAR-based matches for SIP, Skinny, and H.323 protocols. The queue type can be set up as class-based queuing, and bandwidth allocation can be determined from the system baseline. When marking voice signaling, the DSCP value should be set to CS3.